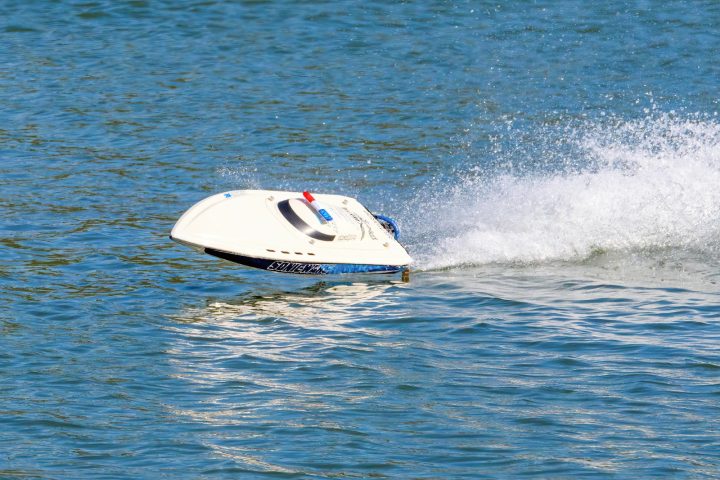
Preparing your RC boat for saltwater: the essential steps

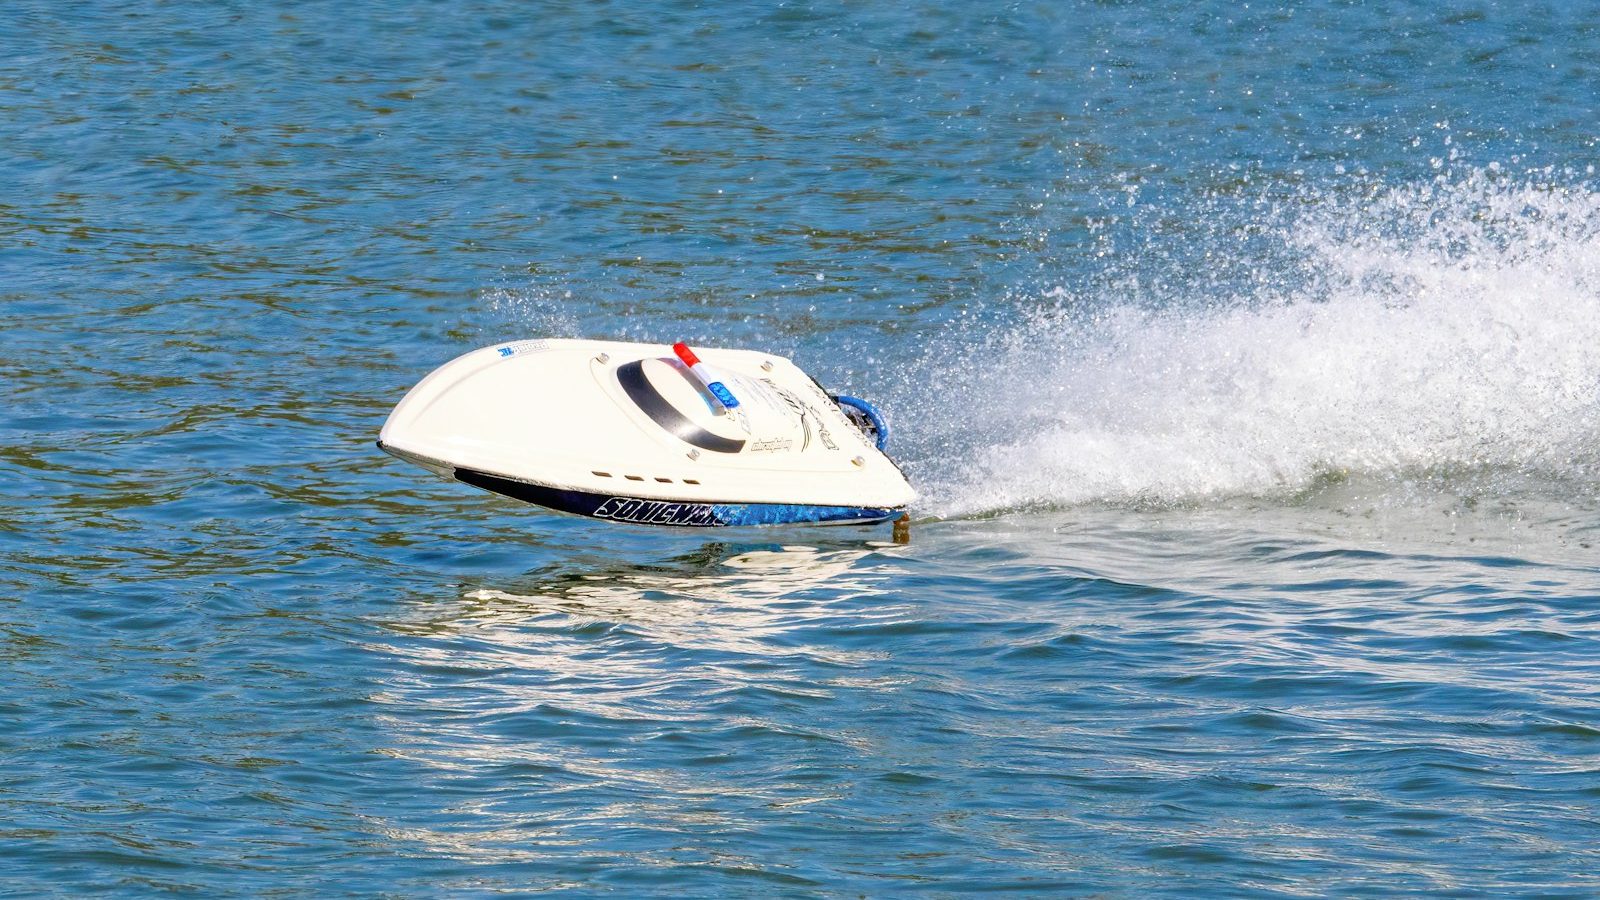
Photo: @jd_photo via Unsplash
In this article
Affiliate disclosure: As an Amazon Associate, RemoteControlCarsBlog may earn from qualifying purchases.
The ocean is the most exciting place to run an RC boat — and the most hostile. This tutorial walks you through exactly how to armor your boat before launch, run it smart, and rescue it from salt afterwards.
Every RC boat #ad owner eventually stands on a beach, boat in hand, and asks the fateful question: can I run it here? The honest answer is yes — if you prepare for it. Saltwater is the most spectacular venue in the hobby and also its most aggressive opponent: a fluid that conducts electricity better, corrodes metal faster, and keeps attacking your boat for days after you’ve gone home.
The good news: protecting a boat from salt isn’t expensive or complicated — it’s a system of small habits, and this tutorial teaches the whole system. You’ll learn exactly what salt does (so the steps make sense instead of feeling like superstition), how to armor your electronics, drivetrain, and hardware before the first splash, how to read ocean conditions and plan retrieval, and the post-run rescue ritual that decides whether your boat survives the season. Follow it and saltwater becomes just another place you boat — a better one.
In this guide
- Know your enemy: what salt actually does
- Freshwater vs saltwater: the rules change
- Is your boat saltwater material?
- Armoring the electronics
- Protecting the drivetrain
- The hardware audit: metals that survive
- Sealing the hull
- The pre-launch checklist, step by step
- Reading the water: tide, wind, and chop
- Retrieval planning: never swim for a boat
- The post-run rescue ritual
- Battery care around saltwater
- Smart buying for saltwater duty
- Common mistakes to avoid
- Pro tips from the shoreline
- Frequently asked questions
🌊 Know your enemy: what salt actually does
Understanding the enemy turns every protection step from ritual into logic, so here’s the three-part attack. First, conductivity. Dissolved salt fills seawater with charged ions, which makes it conduct electricity dramatically better than freshwater. A splash that a freshwater boat’s electronics would shrug off can bridge circuits and short components in saltwater — the same drop of water is simply more dangerous.
Second, corrosion. Salt accelerates the electrochemical reactions that eat metal. Steel rusts visibly faster, aluminum pits, solder joints degrade, and when two different metals touch in saltwater — a steel screw in an aluminum bracket, say — they form a tiny battery that sacrifices one metal to protect the other. Marine engineers call it galvanic corrosion; boaters call it “why is this part crumbling?”
Third — and most underestimated — persistence. Freshwater evaporates and is gone. Saltwater evaporates and leaves salt crystals behind: in bearings, inside cooling lines, around solder joints, under heat-shrink. Those crystals attract moisture from the air and keep corroding your boat overnight, next week, all month. This is why the post-run rinse isn’t optional maintenance — it’s the step that ends the attack.
⚖️ Freshwater vs saltwater: the rules change
Here’s the whole shift in one table — what’s casual on a pond becomes mandatory on the bay.
| Concern | Freshwater pond | Saltwater |
|---|---|---|
| Splash on electronics | Usually survivable | High short-circuit risk — protection required |
| Corrosion speed | Slow — weeks of neglect to matter | Fast — begins same day, continues after drying |
| Post-run cleaning | Wipe down, nice to have | Full fresh-water rinse and flush, mandatory |
| Water conditions | Mostly calm and predictable | Tide, current, wind, and chop all in play |
| Losing the boat | It drifts to the bank eventually | Current can take it away — retrieval plan required |
🛥️ Is your boat saltwater material?
Almost any hobby-grade boat can be prepared for saltwater, but some start closer to ready. The honest audit covers three things. Size and hull: ocean water is rarely glass-calm, and small hulls get tossed by chop that bigger deep-V hulls slice through. A boat that’s thrilling on a pond can be unmanageable in mild surf — bays, harbors, and protected inlets are the right venue, breaking waves are not.
Cooling system: most performance electric boats pull water through the hull to cool the motor and speed control. In the ocean that means salt is being pumped through your boat’s veins all session — fine, as long as you flush those lines with fresh water afterward, every time. Electronics quality: a genuinely waterproof-rated speed control and receiver setup is worth far more at sea than extra speed. Toy-grade boats with unsealed electronics are freshwater animals; take them to the ocean and you’re volunteering them for science.
Rule of thumb: if you’d be upset to lose the boat or its electronics, don’t take it to saltwater unprepared. The preparation below costs a fraction of one replacement speed control.
⚡ Armoring the electronics
Electronics protection is layered, like rain gear. Layer one is a corrosion-inhibiting spray — a thin, non-conductive film applied to the receiver, speed control, servo connections, and exposed solder joints. A quality corrosion inhibitor spray #ad displaces moisture and keeps salt from gripping metal — the single highest-value product in saltwater boating, used by full-size marine electricians for the same reason.
Layer two is conformal coating for the most vulnerable boards. Brushed or sprayed onto a receiver’s circuit board (with connector pins masked off), a conformal coating #ad seals the electronics in a transparent protective skin. The classic budget alternative for receivers is the balloon method — receiver inside a balloon or sealed bag, wires exiting through the neck, zip-tied closed. Crude, ugly, and remarkably effective.
Layer three is connector defense. Salt loves the exposed metal inside plugs. A dab of dielectric grease inside connectors blocks moisture without blocking conductivity, and heat-shrink over exposed solder joints removes targets entirely. Mount electronics as high in the hull as possible — bilge water sloshes low — and stick them on foam tape, which doubles as vibration damping and a moat.
⚙️ Protecting the drivetrain
Most electric boats drive the prop through a flexible cable spinning inside a tube — the flex shaft and stuffing tube — and this assembly is saltwater’s favorite meal: steel cable, constant water exposure, and friction heat. The defense is waterproof marine grease #ad: pull the flex shaft before every saltwater session, wipe it clean, coat it generously, and reinstall. The grease lubricates, blocks water from wicking up the tube, and gives salt nothing to grip.
While you’re in there, give the rest of the running gear the same attention: a thin film of grease or inhibitor on the prop shaft, rudder pivots, trim tabs, and turn fins. Spin the prop by hand and feel for grit — bearings that crunch before a saltwater session will be worse after. This five-minute habit before each ocean day is the difference between a drivetrain that lasts years and a flex cable that snaps mid-run, brown with rust.
🔩 The hardware audit: metals that survive
Every screw, washer, and bracket on your boat is either saltwater-tolerant or a future rust stain. The audit is simple: know your metals, and upgrade the weak ones to a stainless steel screw kit #ad before the ocean does the audit for you.
| Material | Saltwater behavior | Verdict |
|---|---|---|
| Stainless steel | Resists rust well with basic rinsing | The upgrade standard for fasteners |
| Plain / zinc-plated steel | Rusts fast once plating scratches | Replace before ocean duty |
| Aluminum (anodized) | Good while coating is intact; pits at scratches | Fine — rinse well, watch wear points |
| Brass / bronze | Naturally salt-tolerant (marine classics) | Good — common in prop hardware |
| Mixed metals touching | Galvanic corrosion eats the weaker metal | Isolate with grease, nylon washers, or coatings |
One subtle trap: a shiny new stainless screw threaded into an aluminum bracket is a galvanic couple. It won’t fail tomorrow, but greasing threads before assembly — standard practice on full-size boats — breaks the circuit and makes future disassembly possible instead of an archaeology project.
🛡️ Sealing the hull
Ocean running means spray, chop slaps, and the occasional submarine moment off a wave — so the hatch seam that never leaked on the pond will leak at sea. The fix costs pennies: run waterproof hatch tape #ad around the hatch seam before every session, pressing it down firmly onto clean, dry surfaces. Racers tape every run, fresh or salt — at sea it’s non-negotiable.
Complete the sweep: confirm the drain plug is seated, check antenna and pushrod exit points for gaps (a dab of silicone or grease seals tired boots), and inspect the hull for stress cracks that gulp water under pressure. Then do the squeeze test — press gently on the taped hatch and listen for air escaping. A hull that holds slight pressure holds out the ocean.
📋 The pre-launch checklist, step by step
Here’s the entire preparation system condensed into the sequence you’ll actually run on the kitchen table the night before, and at the water’s edge. Do it in order; each step protects the next.
The seven essential steps
- Treat the electronics. Spray corrosion inhibitor on the receiver, speed control, servo linkages, and solder joints (or confirm your conformal coating and balloon/bag protection are intact). Dab dielectric grease into connectors.
- Grease the drivetrain. Pull the flex shaft, wipe it clean, recoat with marine grease, reinstall. Film of grease on prop shaft, rudder pivots, and turn fins.
- Audit the hardware. Tighten everything once; confirm fasteners are stainless or protected, and that mixed-metal contact points are greased or isolated.
- Seal the hull. Tape the hatch seam onto clean, dry surfaces, seat the drain plug, check pushrod boots and antenna exits, and do the gentle squeeze test for leaks.
- Charge and check the radio. Full drive pack, fresh transmitter batteries, and a range check on the beach: walk off the distance you’ll run with the transmitter and confirm crisp rudder response.
- Stage the recovery kit. Fresh water jug for the post-run rinse, towel, retrieval gear (next section), spare hatch tape, and a safe spot for batteries — all laid out before the boat gets wet.
- Read the water, then launch. Confirm tide direction, wind direction, and chop are within your comfort zone (the next section teaches this), pick your retrieval point, and put in with the bow into the chop.
🌬️ Reading the water: tide, wind, and chop
Salt protection gets your boat home alive; water-reading keeps it from leaving in the first place. Three forces matter. Tide and current move the whole body of water — an outgoing tide near an inlet is a conveyor belt to open sea, exactly where a dead boat shouldn’t drift. Wind pushes a stalled boat surprisingly fast, and it always feels calmer from shore than it is out there. Chop — the short, steep waves wind builds — flips small hulls and drowns radio boxes when you run beam-on to it.
| Condition | What it means for you | Call |
|---|---|---|
| Sheltered bay, light breeze, small ripple | Ideal saltwater classroom | Run it |
| Onshore wind (blowing toward you) | A dead boat drifts back to your feet | Favorable — prefer it |
| Offshore wind (blowing out) | A dead boat drifts away from shore | Caution — stay close, short runs |
| Strong outgoing tide near inlet/river mouth | Conveyor belt to open water | Skip it |
| Breaking waves / surf | Hull-flipping, boat-swallowing energy | Never — wrong venue entirely |
The habits that follow: check a tide table before you go, throw a handful of dry sand to read true wind direction at the shore, drive with the bow quartering into chop rather than parallel to it, and run shorter sessions than you would on a pond — saltwater punishes the boat that limps home on an empty pack.
🎣 Retrieval planning: never swim for a boat
Rule zero of all RC boating, written in bold for the ocean: never swim after a stalled boat. Cold water, currents, and distance are all stronger than they look from shore, and people have died retrieving toys. The boat is replaceable. Plan instead, before launch, for the day the boat stops out there — because eventually it will.
The proven retrieval kit, in escalating order: patience (an onshore breeze delivers most dead boats to the beach by itself); a fishing rod with a heavy casting weight or a tennis ball rigged to the line — cast past the boat, drag the line across the hull, and reel it home; a cheap rescue boat — a basic second RC boat that can nudge or tow the flagship back; and a paddleboard or kayak with a life jacket as the human option of last resort, in calm protected water only. Decide which of these you’re carrying before the first launch, and keep runs inside the radius your plan can actually cover.
🚿 The post-run rescue ritual
Remember the enemy’s secret weapon: salt keeps attacking after the water dries. The post-run ritual is how you end the battle on your terms, and the clock starts the moment the boat leaves the water. At the beach: pull the battery, open the hatch, and give the entire boat — hull, hardware, running gear — a generous rinse from the fresh water jug you staged in step six. Pay special attention to the prop, rudder, and every crevice that holds spray.
Flush the cooling system — the step most newcomers miss. Salt crystals form inside water-cooling lines and jackets as they dry, slowly strangling the flow that protects your motor and speed control. Run fresh water through the inlet until it exits clean; a squeeze bottle with a nozzle makes it a thirty-second job.
At home: towel everything, leave the hatch open to air-dry completely, then re-protect — fresh corrosion inhibitor on the electronics and metal, pull and re-grease the flex shaft (the grease in there is now salty), and inspect for the white, crusty bloom of salt residue anywhere you missed. The whole ritual takes ten minutes and is the single biggest factor in how many seasons your boat sees.
🔋 Battery care around saltwater
Lithium packs and saltwater are a uniquely bad combination: salt water conducts well enough to short a pack’s terminals, and a salt-contaminated lithium battery can heat, swell, or worse — sometimes hours later. So the rules tighten at the beach. Transport and store packs in a fire-resistant battery bag #ad, keep them off the sand and away from spray, and inspect the battery compartment for moisture before every pack swap.
If a pack does get splashed with seawater: disconnect it immediately, rinse the connector area with fresh water, dry it, and then watch the pack outdoors in a safe spot — do not charge it until you’re confident it stayed dry inside. A pack that took a real soaking, swells, or warms on its own is done; retire it properly at a battery recycling point. And the universal rules still apply at full strength: charge supervised, never charge a wet or damaged pack, and store at storage charge between ocean days.
🧠 Smart buying for saltwater duty
If you’re choosing a boat with the ocean in mind, shop in this order. Hull first: a deep-V hull at the larger end of your budget handles real-world chop that flat-bottomed pond rockets can’t. Electronics second: waterproof-rated speed control and receiver as standard equipment beats raw speed every time at sea. Brand third: hobby-grade marques with full spare-parts catalogs, because saltwater boating consumes wear parts and a boat without parts support is a countdown.
Then budget for the protection kit as part of the boat’s price: corrosion inhibitor, marine grease, hatch tape, dielectric grease, a stainless hardware kit, and a battery bag. The whole kit costs less than a single replacement speed control — which is exactly the trade it exists to prevent. Self-righting capability, common on modern sport boats, earns its keep at sea more than anywhere else: a boat that flips itself upright is a retrieval plan you don’t have to use.
🚫 Common mistakes to avoid
- Skipping the rinse “just this once.” Salt doesn’t take days off. One unrinsed session starts corrosion that quietly continues all week.
- Forgetting the cooling lines. The hull looks clean while salt crystals choke the cooling system from the inside. Flush until the water runs clear — every time.
- Running beam-on to chop. Driving parallel to the waves is how small hulls flip. Quarter into the chop and turn in the troughs.
- Launching with an offshore wind and no plan. The day the boat stalls, the wind decides where it goes. Prefer onshore breezes; always know your retrieval move.
- Swimming for a dead boat. The most dangerous mistake in the hobby, and never worth it. Fishing rod, rescue boat, or patience — not you.
- Treating a splashed lithium pack as fine. Saltwater and lithium packs are a delayed-reaction hazard. Disconnect, dry, observe safely — and retire any pack you don’t trust.
💡 Pro tips from the shoreline
- Build a dedicated salt kit. One small box: inhibitor spray, marine grease, hatch tape, dielectric grease, towel, and a water jug that lives with the boat. Prep becomes automatic when the kit is.
- Rinse at the car, not at home. The earlier salt comes off, the less it does. A garden sprayer in the trunk is the saltwater boater’s secret weapon.
- Run the first ocean session on a half-throttle rule. New venue, new forces — learn how your hull reads chop before asking it to fly.
- Tape a bright streamer to the antenna mast. A flash of color makes a stalled boat findable in glare and chop from a hundred yards.
- Log your hardware. A phone note of what you’ve upgraded to stainless and when you last re-greased the flex shaft beats memory every time.
- Watch the locals. Where full-size sailors launch dinghies is usually where the water is protected, the access is legal, and the retrieval is easy. Borrow their judgment.
❓ Frequently asked questions
Can I run any RC boat in saltwater?
Most hobby-grade boats can handle saltwater if you prepare them — protected electronics, greased drivetrain, sealed hull — and rinse thoroughly afterward. Toy-grade boats with unsealed electronics should stay in freshwater.
Does saltwater ruin RC boats?
Unprotected and unrinsed, yes — salt shorts electronics and keeps corroding metal even after the boat dries. Protected and rinsed after every run, a boat can do saltwater duty for years.
What should I do immediately after a saltwater run?
Pull the battery, rinse the whole boat with fresh water at the beach, and flush the water-cooling lines until they run clear. At home: dry completely with the hatch open, re-apply corrosion inhibitor, and re-grease the flex shaft.
Why do I have to flush the cooling system?
Performance electric boats pump water through cooling lines around the motor and speed control. Saltwater left inside dries into crystals that clog the lines and choke cooling — a fresh-water flush after every ocean session keeps them clear.
How do I get my boat back if it dies offshore?
Never swim for it. Use an onshore breeze and patience, a fishing rod with a casting weight or tennis ball to drag a line across the hull, a cheap rescue RC boat to tow it, or a kayak with a life jacket in calm protected water only.
What conditions should I avoid entirely?
Breaking surf, strong offshore winds, and outgoing tides near inlets or river mouths. Sheltered bays and harbors with a light onshore breeze are the saltwater sweet spot.
🏁 Final thoughts
- Saltwater attacks three ways — conductivity, corrosion, and crystals that keep working after drying — and every prep step answers one of them.
- Armor before launch: inhibitor and coatings on electronics, marine grease through the drivetrain, stainless hardware, taped hatch.
- Run smart: sheltered water, onshore breeze, bow into the chop — and a retrieval plan decided before the first launch.
- The fresh-water rinse and cooling flush after every session is the single habit that decides your boat’s lifespan.
- Never swim for a boat, and treat salt-splashed lithium packs as hazards — the boat is replaceable; you and your house are not.
#ad — as an Amazon Associate we earn from qualifying purchases.
Keep exploring
This article contains affiliate links. As an Amazon Associate, we earn from qualifying purchases made through links on this page, at no additional cost to you. All trademarks belong to their respective owners; their use here is for identification purposes only.

admin
Our editors are RC drivers first: every guide is written by someone who has owned, broken and rebuilt the category they cover. No paid placements, no fabricated ratings.