Introduction
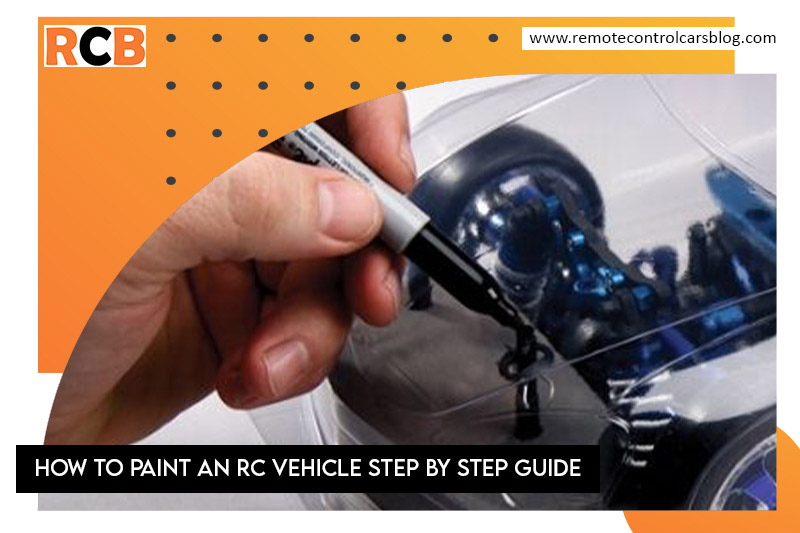
If you own an RC vehicle, then you know how important it is to keep it looking good. Painting your RC vehicle is an excellent way to add a personal touch and protect it from wear and tear. In this article, we will provide a comprehensive guide on how to paint an RC vehicle, whether its a remote control car or remote control truck perfect for beginners.
Read the blog on Remote Control Vehicles
Gathering Materials
You may find very very long painting guides but this is the most practical one eliminating all unnecessary detail to save you time and provide you with the best
Before starting to paint your RC vehicle, make sure you have all the necessary materials. Here are the things you will need:
- RC vehicle
- Sandpaper
- Primer
- Base coat paint
- Design or pattern paint (optional)
- Clear coat paint
- Paintbrushes
- Masking tape
- Clean cloth
- Gloves
The first decision while painting the car is regarding the paint and the technique you adopt to paint the car.
Paint Techniques
Let’s explore things step by step starting from the techniques to do the painting. First thing first, we have three different techniques to paint the RC Cars
- Brush with Hand Stroke
- Paint with Spray Cans / Bottles
- Paint Through Air Brushing
Most guys who paint their cars adopt one of these three painting techniques. Some may adopt in combination two or three techniques. Let’s explore these one by one and try to find out which one is best for your remote control car
Brush with hand stroke
this includes your love for your car to paint every single screw with your hand and brush
Not good for Car Paint
The problem with this technique is to let it is really hard to get a smooth finish when using the hand in the brush.
Best for Car Paint
On the other hand, this is the best technique to perform detailed artwork on your car.
Product Showcase
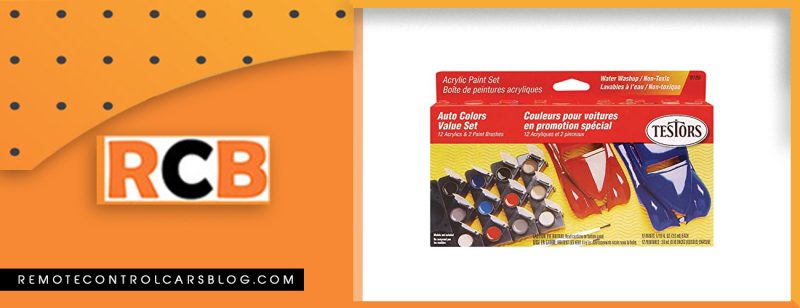
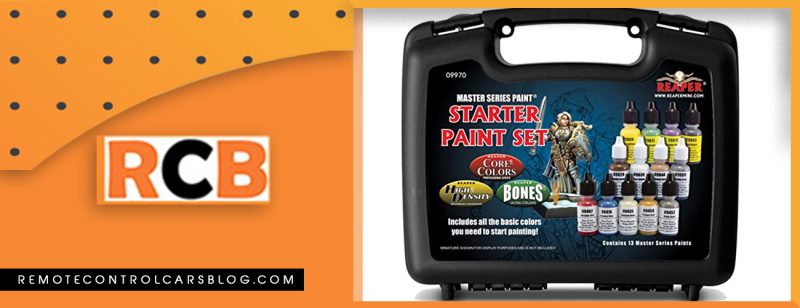
Here are some best available products in the market you meet use one of them to give a new look real car when using the brush and hand technique
#1. Car Paint set
#2. Reappear Paints
Paint with Spray Cans / Bottles
The second technique is to use paint with spray cans or bottles.
Best for Car Paint
This technique is best for getting a smooth fine finish to your RC Car or your remote control truck
Not best for Car Paint
This technique is not so good to obtain detailed artwork on the car
Product Showcase
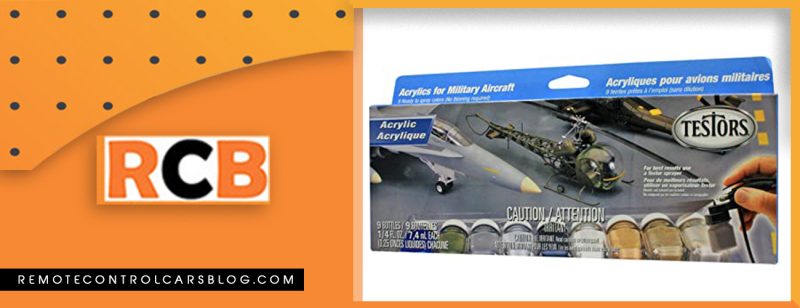
Here are some best available products you can use to paint your RC car
#3. Spraying Paint by Testor
#4. Arteza Premium Paint

Paint Through Air Brushing
The third is the most effective technique used to paint full-size original cars.
Best For RC Car Paint
This will provide you with a professional look and a smooth finish I will finish your work in less time.
Not Best For RC Car Paint
Actually, there is nothing to be mentioned in this section for this technique the only thing I can imagine here is the type of expertise you need to perform this job.
Product Showcase
here are some suggestions for others with me to find the best to perform this type of job
#5. Multipurpose with the color mixing tool
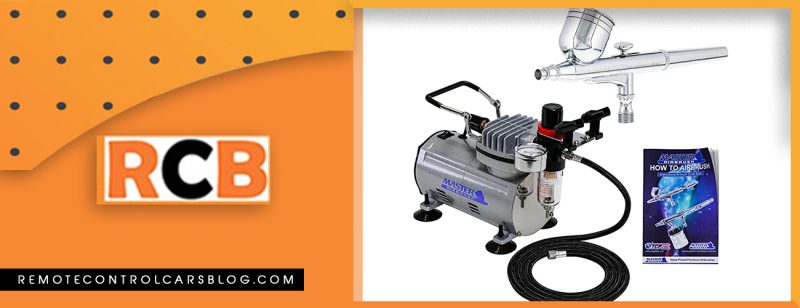
#6. Gravity feed Multi-purpose Dual Action Air Brush
Now as we have the right paint for our job this is the time to perform the task. let’s explore it step by step.
Steps To Perform Pint Job on the RC Car
Step 1 Getting the surface ready
Chances are that probably you are using an old car to repaint it. then you have to perform some tasks to make the car ready for the paint. If you are using a new car with rowdy means no Paint on it then you may avoid this hard work. check the article if you want to fix Remote Control Car
in case you are using an old car, you first need to get rid of the old paint on it. making the product ready for the paint.
Two techniques can be used to do this job the first day by using the chemical remover second by using cell paper to rub off the paint from the body of the RC car
while using the chemical remover you apply the remover on the body and then wait till instructed time to remove the paint buy a gentle rub. the waiting period may vary from Product to product but usually, it resides From 3 to 12 hours.
Step 2 The Modifications in the body
if you have purchased a new car then you may need to modify the body of the car or even if you have an old one you missed and need to modify the body of the car. in both cases, it is advisable to perform this job before the paint. as the chances are that the paint may get destroyed while performing the modifications on the body like cutting some parts or removing the Dents.
Step 3. Remove the Dust of
Now, this is the time to clean the RC car this can be done easily with ordinary dish wash and underwater what I have to do is to choose a dishwasher that is non-absorbent. applying the dishwasher on the car body repeat gently with the hand or the foam sponge and rinse it with water. Make sure that the car is dried properly before starting the next step.
You may choose to dry it off with a water towel or air dryer. in the case of a hairdryer make sure the air is at the normal temperature and is not very hard.
Step 4 Draw the boundaries and apply paint
you may choose to apply multiple Paints on your car. if so then you need to determine in which area which color will be applied. the best way to do this is to draw the design of the RC car. apply a single color. While covering the remaining area with tape. you may choose plastic or paper tape but it is advisable to use paper tape.
cover all the areas that affect the one that you want to paint with the particular paint once done wait for it to dry then repeat this procedure for the second third fourth paint. you may use as many points as you want.
Tips and Tricks
- Work in a well-ventilated area to avoid inhaling paint fumes.
- Wear gloves to protect your hands from paint and chemicals.
- Practice on a small area first to get a feel for the process.
- Use masking tape to create straight lines and protect areas you don’t want to paint.
- Apply thin, even coats of paint to avoid drips and runs.
- Let each layer of paint dry completely before applying the next one.
- Use a buffing wheel to achieve a smooth, shiny finish.
Conclusion
Painting an RC vehicle is a fun and rewarding project that can add a personal touch to your vehicle. By following the steps outlined in this article, even beginners can achieve a professional-looking finish. Remember to take your time, work carefully, and have fun!
Read a Related blog on How to clean an RC car
FAQs
- Can I paint an RC vehicle with regular spray paint?
- It’s not recommended to use regular spray paint on an RC vehicle, as it may not adhere properly and could damage the vehicle.
- How long does it take to paint an RC vehicle?
- The painting process itself usually takes a few hours, but you’ll need to let the paint dry for at least 24 hours before handling the vehicle.
- Can I use a paintbrush instead of spray paint?
- Yes, you can use a paintbrush to apply the paint, but spray paint is usually easier and faster.
- Do I need to sand the RC vehicle before painting it?
- Yes, it’s recommended to sand the surface of the vehicle to remove any rough patches or blemishes.
- Can I paint the tires of my RC vehicle?
- It’s not recommended to paint the tires of an RC vehicle, as the paint may not adhere properly and could affect the vehicle’s performance.
